When people learn to play guitar, they dream of standing on the stage of a sold-out stadium. When they start playing sports, they imagine the roar of the crowd when running onto the field. When many of us started brewing, we wanted to make beers that made us, as well as our friends, say wow. For IPA drinkers, it goes even a little deeper. People stand in long lines just for a pint of the latest, freshest, hoppiest beers out there. We want to be like Cilurzo, Calagione, or Brynildson.
While we hopefully improve at our craft while we practice and gain knowledge, we’re going to find that we need to add some extra tools to our arsenal. Many of us move from extract to all grain, others move from a garden hose chiller to a plate chiller. But in the quest for the perfect IPA, there is likely a weapon that is missing from your arsenal, the hopback. Hopbacks help you introduce and retain more of the wonderful flavors and aromas of hops in your finished beer.
Hopback History
The hopback comes from England of all places, not a land known for its particularly hoppy beers. Unsurprisingly, the Brits didn’t intend to impart extra hop character, rather wanted to remove hop matter. A vessel would be set up in-line after the boil kettle that contained a screen in the bottom. This screen would hold the hops back (hence the term hopback), creating a filter bed that retains the rest of the hops and trub from the boil kettle. While no official history exists, it’s possible that the potential power of the hopback was discovered by an enterprising brewer trying to set up a filter bed using fresh hops before any wort was even added.
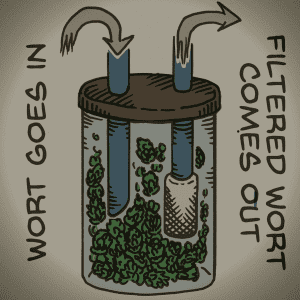 The hopbacks being used in homes and breweries don’t vary much from the original design. They are a rather simple device consisting of a sealed container, an inlet and an outlet for the wort, and a screen or mesh that prevents the hops from traveling through the outlet. Whole leaf hops are added to the container before it is sealed. The hopback is connected on the hot side during the transfer to your fermentation vessel, meaning that the wort would travel through it before reaching your plate chiller.
Oils and Acids
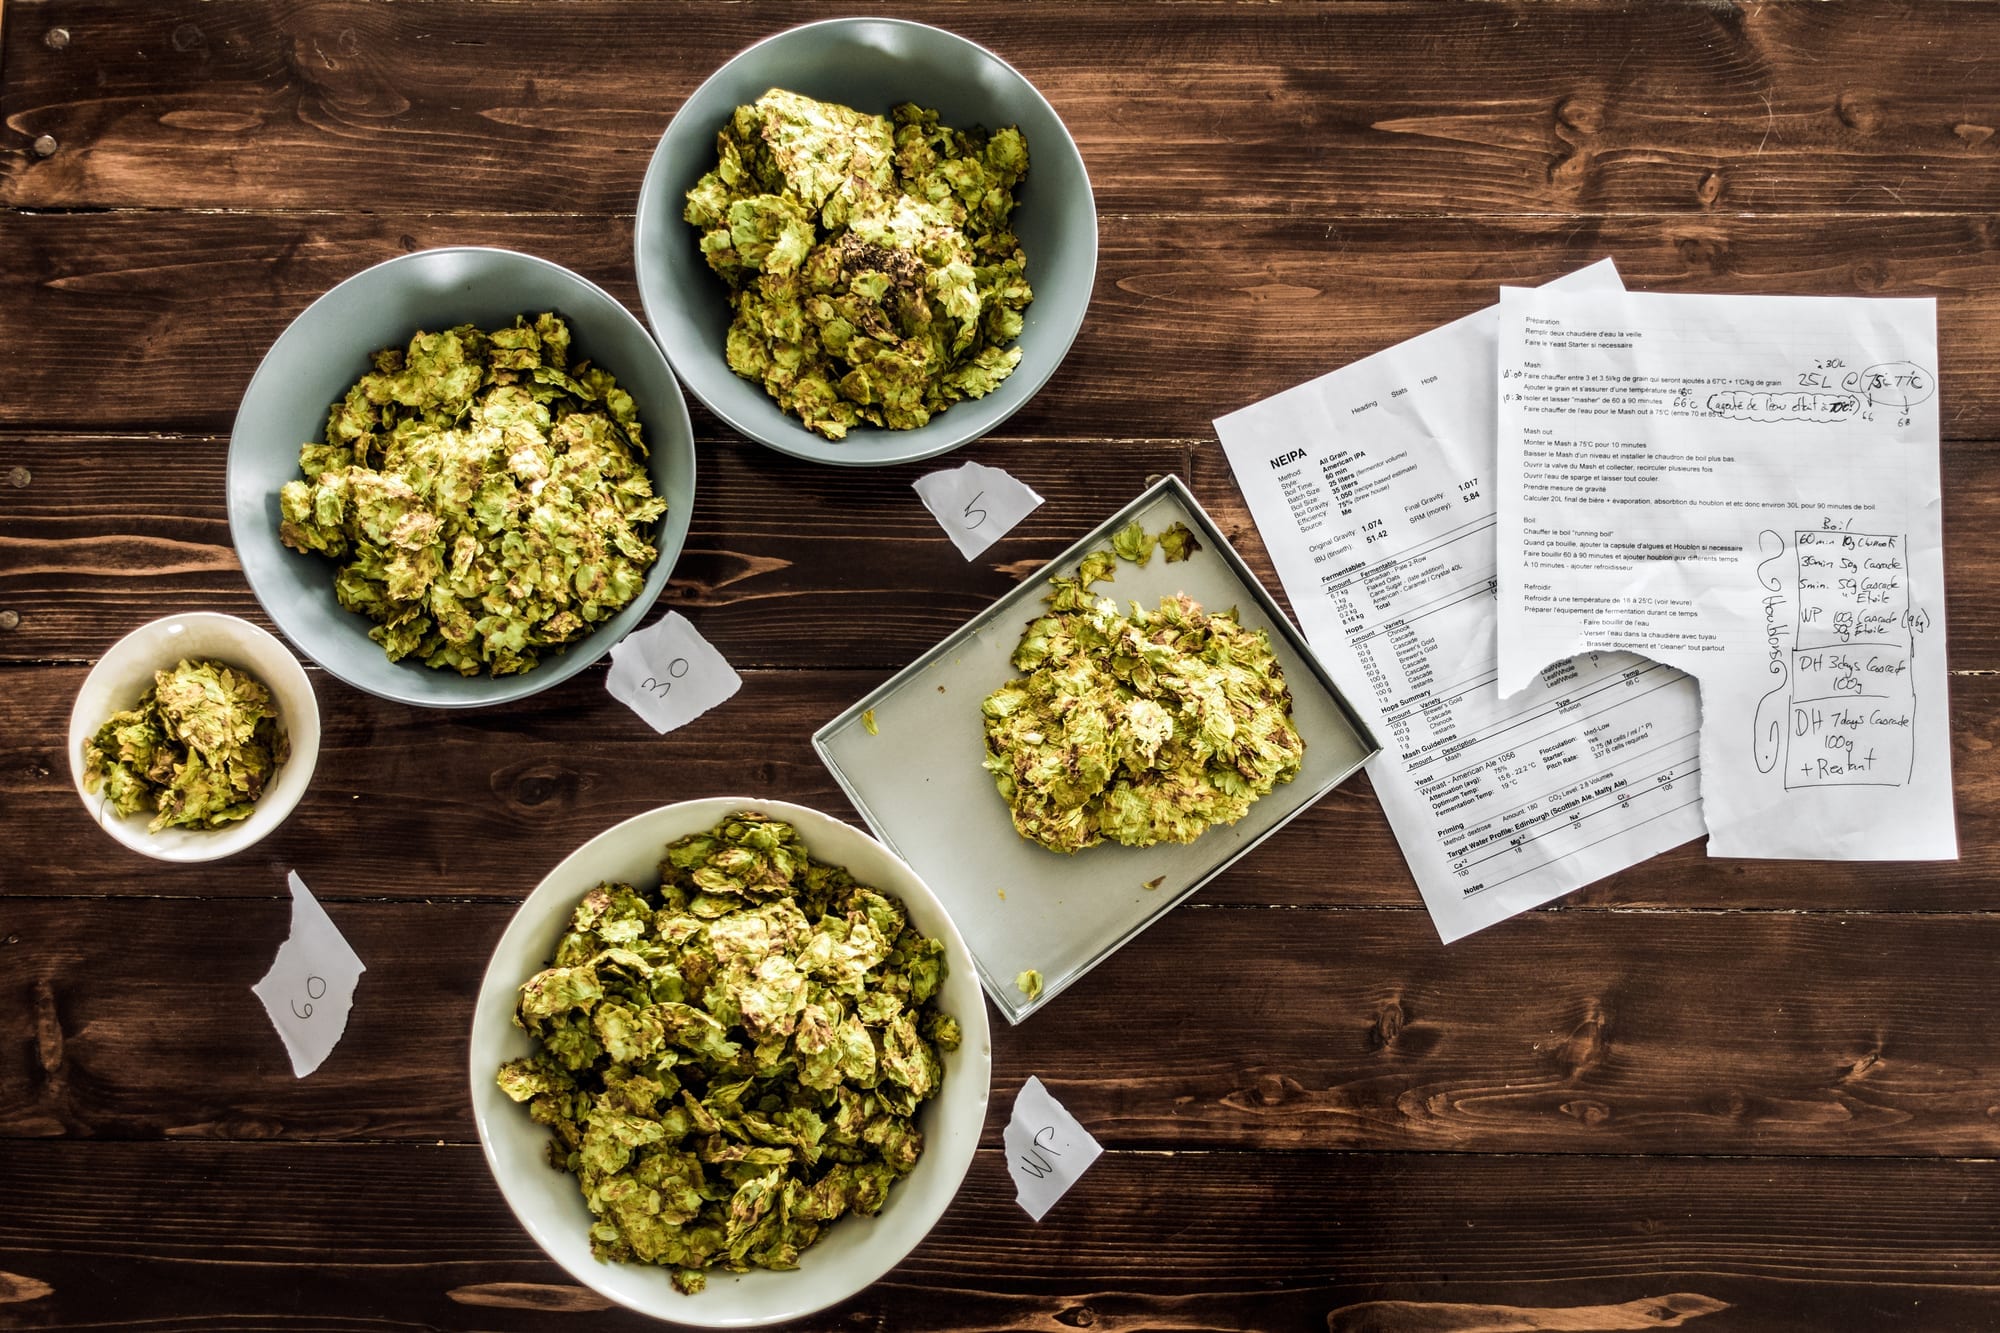
Those delicious hop aromas and flavors that we’re always chasing and raving about come from oils contained in the hops with which we brew. The conversation with IPAs has shifted from how many IBUs a beer contains to the some of the more pleasurable aspects of the style. When you’re boiling your wort and you’re doing hop additions, alpha acids go through a process called isomerization where they become iso-alpha acids which in turn lends bitterness to the beer. And doesn’t it smell great when you toss hops into the kettle? Well, all those wonderful smells are the aromatic and flavor compounds being boiled right out of your beer.
Time to Chill
Now, you might have noticed that I specified a plate chiller earlier. It would be possible to recirculate your wort through a hopback prior to chilling with a copper coil, but you’re going to lose one key advantage of your hopback: the retention of the aromatics and flavors imparted by the hop oils. Hop oils are known as volatile compounds; they’re easily lost to the atmosphere at or above a certain temperature. If you’re going through a hopback, but reintroducing it to hot wort that is open to the air, you will lose a portion of those aromatic and flavor compounds.
So, there is a clear advantage to using the hopback when it comes to the retention of the hop oils that you’re looking for. Even if you’re only doing late addition hopping (or hop bursting, as it’s sometimes known) or large whirlpool additions, you will lose some of the oils to the air. You’re also losing out on the filter aspect of the hopback, allowing hop matter and trub to travel to your fermenter. However, if you’ve been chasing after a delicious IPA though, you’ve probably already tried dry hopping.
Now, I focused on the loss of the hop oils to the atmosphere. During active fermentation, some of those hop oils are lost during the process whether or not you used a hopback. However, since you already started off by extracting and retaining additional oils, your finished product will smell and taste better than it would have if you skipped it. However, if you’re dry hopping after active fermentation, you have an opportunity to introduce some of those oils back into your beer.
Dry Hopping
Dry hopping typically takes place over several weeks and lends a more of a “green” quality to the beer. Dry hopped beer will lean towards a resin aroma and smell quite a bit like fresh hops. The reason for this particular aroma is a hop oil known myrcene. During dry hopping, myrcene is being stripped from the hops at a rate much greater than some of the fruitier or more flowery oils that you might be looking for, which require a bit of heat to give up the goods. This is where our good friend the hopback really saves the day, that sealed container will see you getting more of the oils you might want into your finished product.
So, at the end of the day, what are you supposed to do if you’re chasing your perfect IPA. The fact of the matter is; you probably want to do a bit of everything. You need to put some hops into the boil in order to extract bitterness, as simmering the hops post flameout isn’t going to get you where you likely want to be. Dry hopping might help you introduce some of that classic IPA aroma to your beer. All things considered, though, the hopback is going to be the star of the show. You’re going to extract and capture the delicious flavors and subtle (or not so subtle) aromas that you’ve been looking for since you brewed your very first IPA.
Where To Buy
Here are a few highly recommended hopbacks that can be purchased outright. Below you can find some resources for building your own hopback, if you are the DIY type!
Oh hey! FYI… any links on this page that lead to products on Amazon or other online retailers are affiliate links and we earn a commission if you make a purchase. Thanks in advance for your support!
- Stainless Steel. Not only can it be used as a hopback, it doubles as an in-line hop infuser (Randalizer) for your beer dispensing system and TRIPLES as an in-line filter! The HopRocket has been designed from the ground up as a purpose-built, heavy duty, hopback and hop infuser.
Prices pulled from the Amazon Product Advertising API on:
Product prices and availability are accurate as of the date/time indicated and are subject to change. Any price and availability information displayed on [relevant Amazon Site(s), as applicable] at the time of purchase will apply to the purchase of this product.
- FILTER BEER OR MAKE TEA: We love beer, but what is better than the beverage itself is the satisfaction of creating it; The G. Francis Brewing 1 Gallon Hopper Spider Strainer, Stainless Steel 300 Micron Mesh - Homebrew Hops Beer & Tea Kettle Brew Filter is designed for kettle brewing systems to contain hops while keeping debris out of pumps, chillers, and finished beer, resulting in a clearer beer and better taste; Suitable for beer brewing, making compost tea, and putting into a boil pot
- EASY TO USE: Simply place this filter over the edge of your kettle and, during the boil, hops can be poured directly into the spider; For any standard electric brewing system
- BUILT TO LAST: 300-micron mesh that wont wrinkle or damage easily; Frame made from firm stainless steel for strength and longevity; Will resist rust, corrosion heat, and pressure; Enables easier sterilization prior to brewing and easy cleanup
- EASY STORAGE: Kettle hanging hook on top end of basket is 3.5 inches (8.9cm) taller than the filter and is 3.5 inches (8.9cm) wide for user-friendliness and versatility; Easier than beer cloth hops bags to remove, clean, and sanitize; Care of this hops spider is easy - you can put in the dishwasher as a separate load with no soap, or simply use a garden hose to wash it out; A no-rinse cleaner and sponge after you rinse it off also works
- FILTER MORE: Large filter has a 12.5-inch height, 5-inch top and 3.5-inch bottom diameter (31.8cm x 12.7cm x 8.9cm); Suitable for over 1 gallon (450 grams) of hops
Prices pulled from the Amazon Product Advertising API on:
Product prices and availability are accurate as of the date/time indicated and are subject to change. Any price and availability information displayed on [relevant Amazon Site(s), as applicable] at the time of purchase will apply to the purchase of this product.
Build Your Own
There’s quite a bit of information out there about how you might build your own hopback. Follow the links below if you are a DIY brewer who likes to build your own equipment.
Brewgeeks “$20 Hopback” – You can’t argue with a $20 add-on!
Greenethumb “Homebrewing DIY: Mason Jar Hopback”
Brew Your Own “Build a Stainless-Steel Hopback” (requires registration)
American Homebrewers Association “How to Build a Hopback” – “One of our local brewers from the Cheshire Brew House was explaining future upgrades to our systems and how he wanted to build a custom hopback because his Blichmann HopRocket™ was too small.” Golly!
Conclusion
We might never hear the roar of the crowd in MSG or hit a homer out of Fenway, but we can certainly brew a beer so mouth-wateringly tasty that it’ll leave our friends asking for more.

